 Have you ever come home from a wedding excited to view your images just to become immediately paralyzed by overwhelm at the sight of thousands of images? That’s probably because you are culling in Lightroom! That used to be me, too, until I discovered Photo Mechanic! This software has completely transformed our culling workflow. There is no need to wait 5+ seconds per image to load in Lightroom (which adds up when you’re culling thousands of images per year!) when you can view it immediately in Photo Mechanic, right? Read on to learn about how I cull our images and get some tips and tricks for how to improve your own culling workflow. But first, a disclaimer: There are many, many ways to cull and this is just one way. Give it a try and you may find that this system works for you, too! Here’s how I do it:
1. First, I load the RAW files onto the external drive. I’ll call this “Drive 1.” Below is a screenshot of how I organize this drive.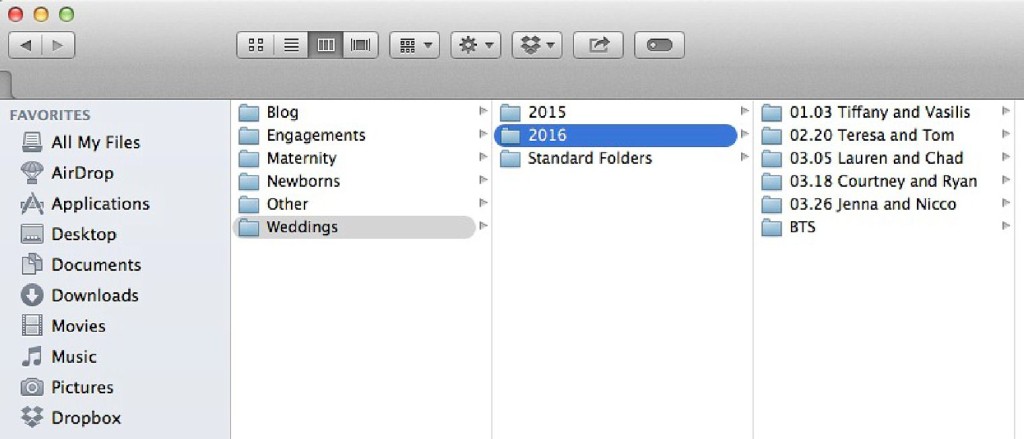
2. While the images back up to other drives, I work from Drive 1 and put all of the images from the wedding into one folder titled RAW.
3. Next, I ingest the images from the drive into Photo Mechanic and sort them by file name so that I can view all of my images first, then all of Jay’s. Then I start culling. I keep my left index finger on the “T” to tag the keepers, my left pinkie on the “Z” to zoom in to check for sharpness, and my right hand on the arrow keys to move forward or backwards if necessary. You can cull backwards to save even more time if you’d like! 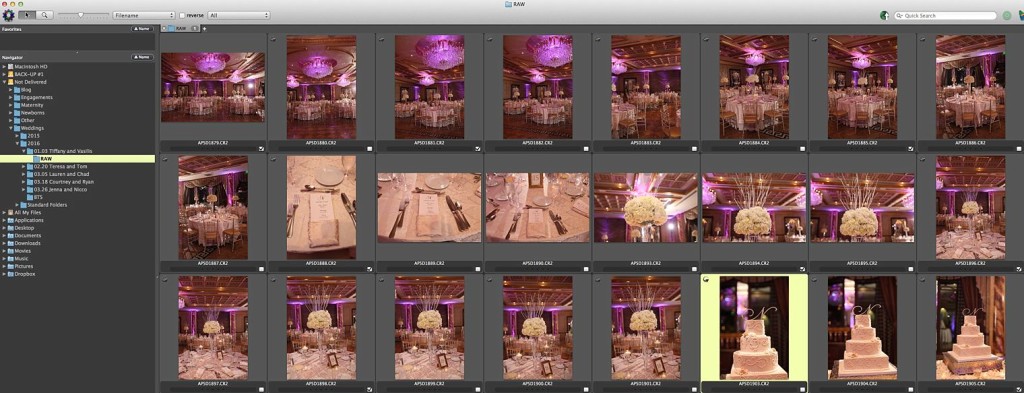
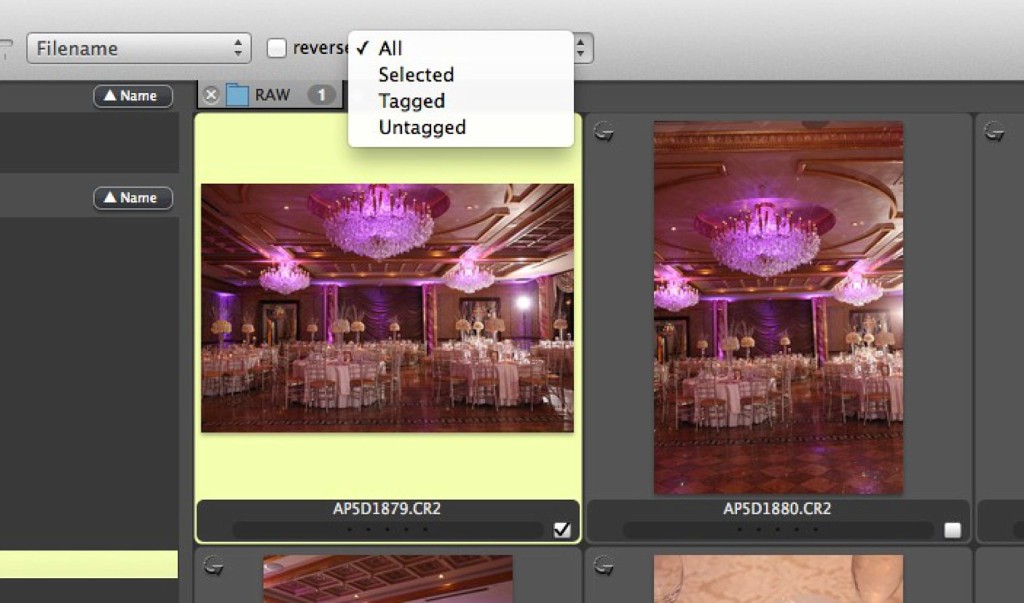
4. Once I’m done culling in all the keepers, I view only the “tagged” ones and mark them as 5 starred. These are the images we will edit and deliver.
5. Also important to note is that as soon as I come across an image that is one of my favorites, I hit the “1” number key, which automatically marks it in red. The “red” images are the ones that we will include in the blog preview the week after the wedding and in the “Wedding Day Highlights” folder that we’ll deliver on the same day the blog post goes live. If I end up marking too many images with a “1,” I filter them by viewing just the 5 starred red images and narrow them down to create a cohesive collection for the preview.
6. We categorize all of our images into folders so that they are easily viewed by our clients. To avoid re-creating these folders for every single wedding, I created “standard folders” that I copy and paste into the couple’s image folder. Next, I drag all of the images into their appropriate folders. I used to do this in Lightroom but this part is much faster in Photo Mechanic!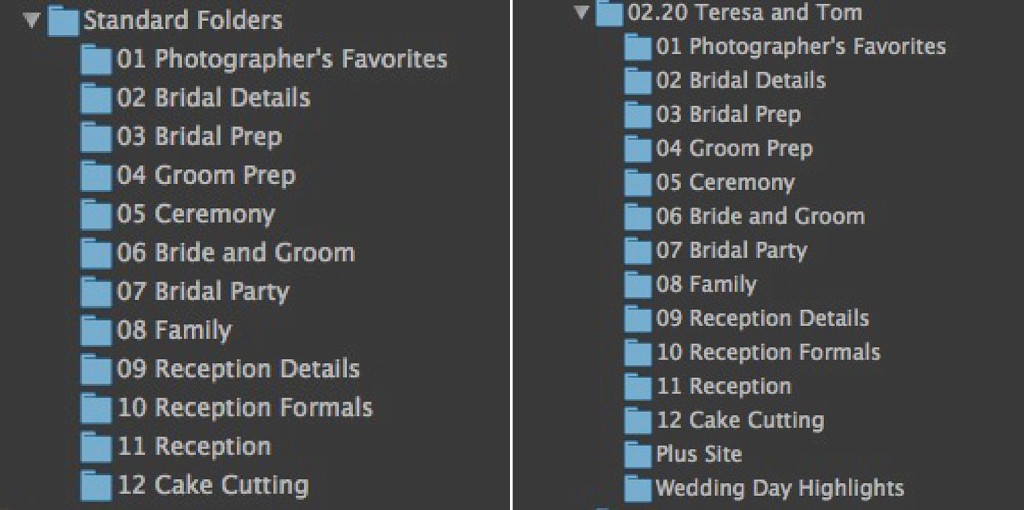
Once the images are in the correct folder, the culling process is over and editing can begin. The keepers are 5 starred and the blog preview images are marked in red!
And there you have it! I highly recommend investing in Photo Mechanic – it is the best $150 you’ll spend all year! If you’re still on the fence, download the trial and try Photo Mechanic for free! If you enjoyed this post be sure to check out our page FOR PHOTOGRAPHERS.