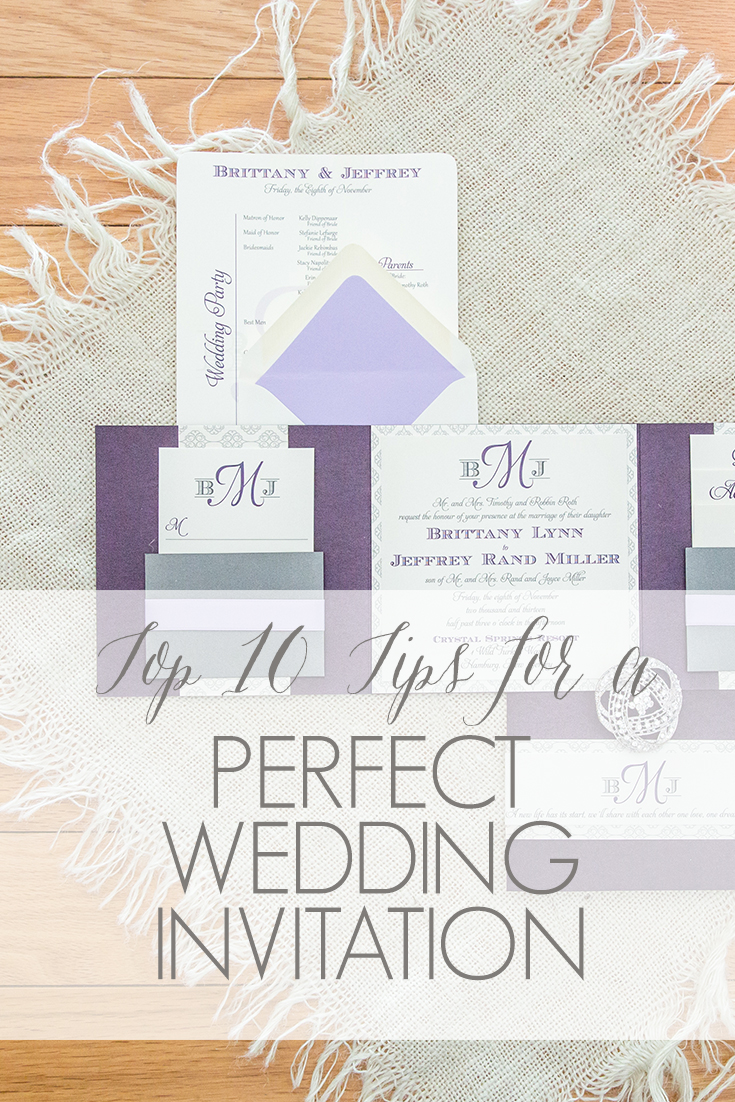
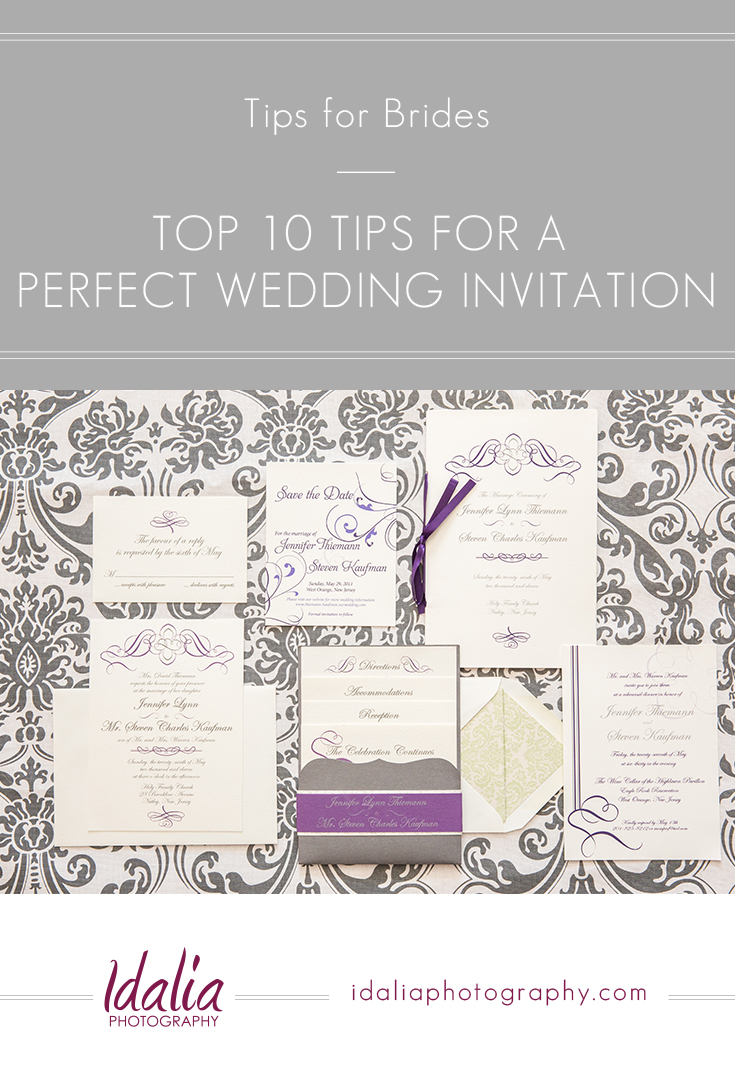
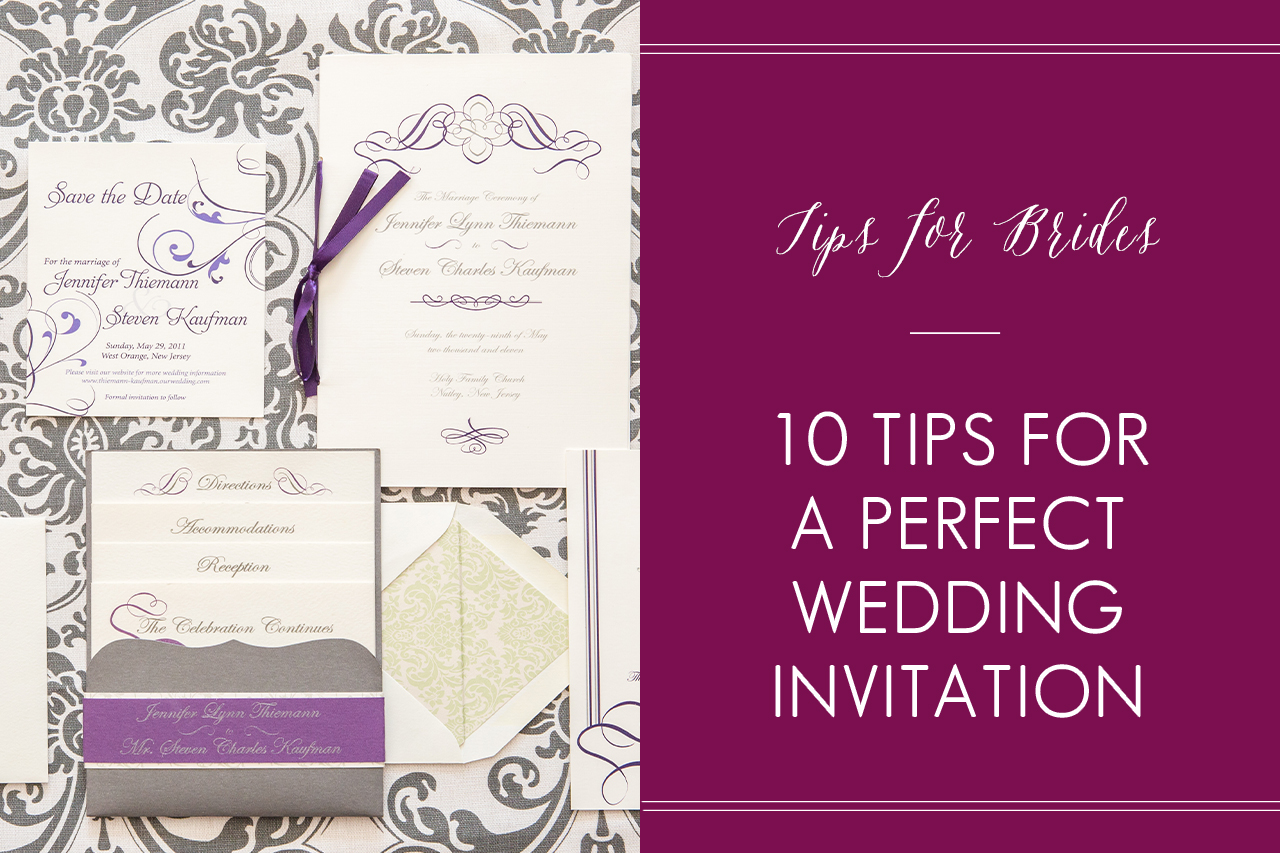
 When Jay and I were planning our wedding, one of my favorite parts of the process was seeing our ideas come to life. Some ideas were easier to execute than others, though. Jay was very involved in the entire process (which I loved) but it often made things a little more challenging because we are such perfectionists! When it came time to choose our wedding invitation, we wanted to combine all of our ideas but of course there was nothing out there to suit our needs. Luckily, we reached out to NVS Events and they helped us arrive at the perfect wedding invitation (click here to check it out). Hiring them to design our wedding invitations and stationery was one of the best decisions we made for our wedding day. We loved everything they designed for us! If you’re thinking of hiring a stationer to design your wedding invitation, here are some tips by NVS Events and some of their gorgeous invitations to inspire you! Enjoy!
Even though you are working with a stationer on creating the perfect invitation, there are a number of things you can do to ensure your invite reflects exactly who you are and how you envision your day! Your invitation is the first piece of stationery your guests will receive for your big day, and it will set the mood for what’s to come!
1. FIND YOUR INSPIRATION FOR THE DAY.
Is there something at the venue that inspires you – a fountain, chandelier, it’s grounds and gardens. Use this to help you determine the décor style for the day, which all starts with your invitation – classic and traditional, contemporary, or modern and glam. You want to make sure your personal décor style doesn’t compete with your venue décor.
2. BROWSE THROUGH PHOTOS.
Browse through wedding invitation photos to gather some inspiration to send along to your stationer. This will give him/her an idea of what you like.
3. DETERMINE BUDGET.
Determining your approximate budget is important so that it’s easier to make decisions regarding which printing technique you will move forward with – digital printing vs. thermography vs. letterpress. Digital printing will be the most cost efficient, followed by thermography and letterpress being your most expensive option. Of course there are additional options like painted edges, rounded corners, engraving, lined envelopes – but again these will all add to the cost per invite.
4. SELECT COLORS.
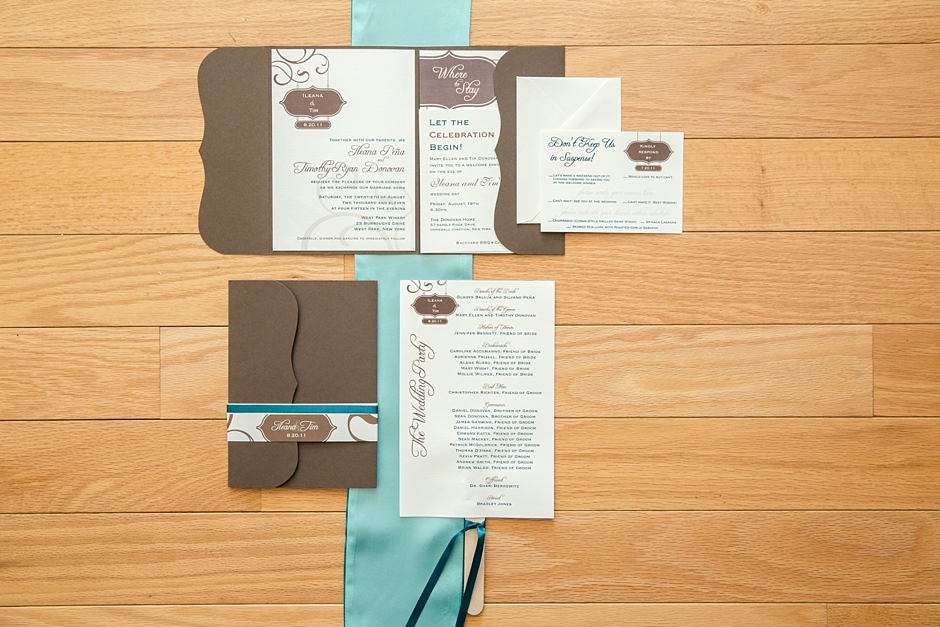
Be sure to select at least 2 colors, so that important information like names, location, etc. can pop off of the invitation.
5. SELECT SIZE.
Decide if you want a standard size, 5 x 7 or a square. Keep in mind that mailing out a square invite will incur a surcharge from the post office.
6. POCKET, BELLY BAND, FREE FLOWING.
If you plan on having multiple pockets, decide if you want a pocket or belly band to hold everything together; or, would you rather save on that additional cost and have the panels free flowing within the envelope. If you choose the latter, we recommend doing an inner and outer envelope to help keep things together. If you do a pocket or belly band, you can forgo the inner envelope.
7. MAKE SURE THEY ARE LEGIBLE.
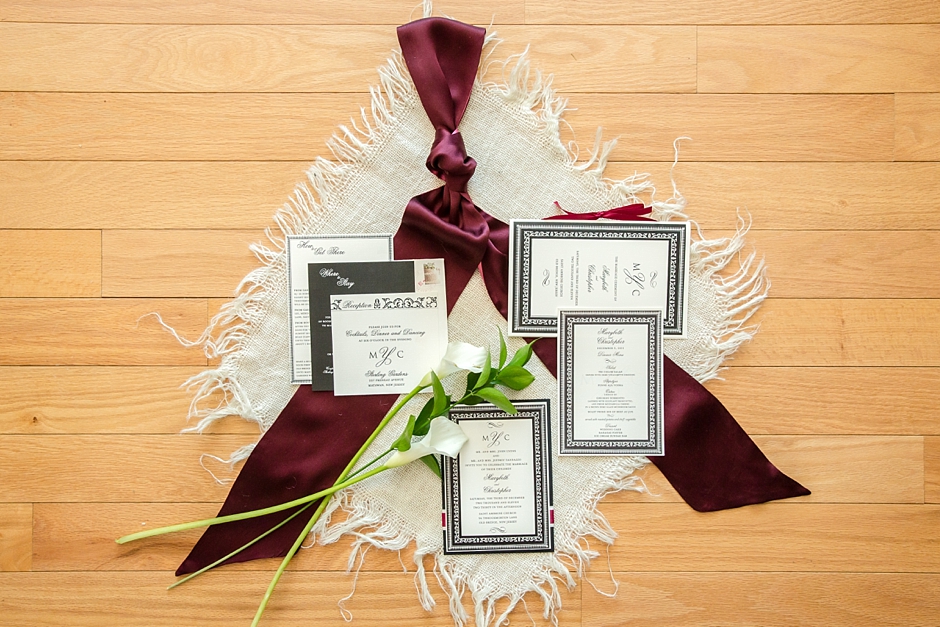
When you receive your proof, be sure to print them out to make sure they are legible. The fonts used and the font size should be crisp, clear and easy to read.
8. TRIPLE CHECK YOUR PROOF.
Once you receive your proof, be sure to triple check the information. Check all dates listed on a calendar, look up any addresses listed, call any phone numbers listed for hotels, etc. It’s also a good idea to send the proof to at least 3 people so they can take a look at it as well.
9. ENVELOPE ADDRESSING. START EARLY AND HIRE A PRO.
Decide if you plan on having your envelopes hand calligraphered or computer calligraphered. Hand calligraphy is beautiful, but of course your most expensive option. Computer calligraphy is a great alternative, as it costs a quarter of the price of hand calligraphy and looks just as pretty. Once your design is finalized, be sure to send your envelopes out as they can take up to two weeks for hand or computer calligraphy. Do not wait until your invitations are delivered to start your envelopes. All you need to get your envelopes done are your colors and fonts. Your stationer should be able to handle this element for you as well though!
10. MAIL THEM OUT.
Do not go to the post office with one sample of your invitation to purchase all of your stamps. Once you have all of your invitations in your hand, take them all to the post office for weigh in and to purchase stamps. Chances are if you go with a sample first, they may tell you a different cost per invite once you actually go to mail them all out. Also, be sure to ask the clerk to hand cancel your invitations. This will prevent them from going through a machine twice, reducing the chances of your invitations being damaged during mailing. The first 50 invitations are free, and any additional are $0.05 each. If the clerk advises that they can’t hand stamp them, ask her if she can give you the stamp so that you can do it on your own.
Most importantly, have fun working with the stationer on your invitations! Be sure to be vocal about what you like and don’t like, and request any changes that you would like to see be made. These are YOUR wedding invitations, and they should be just perfect!
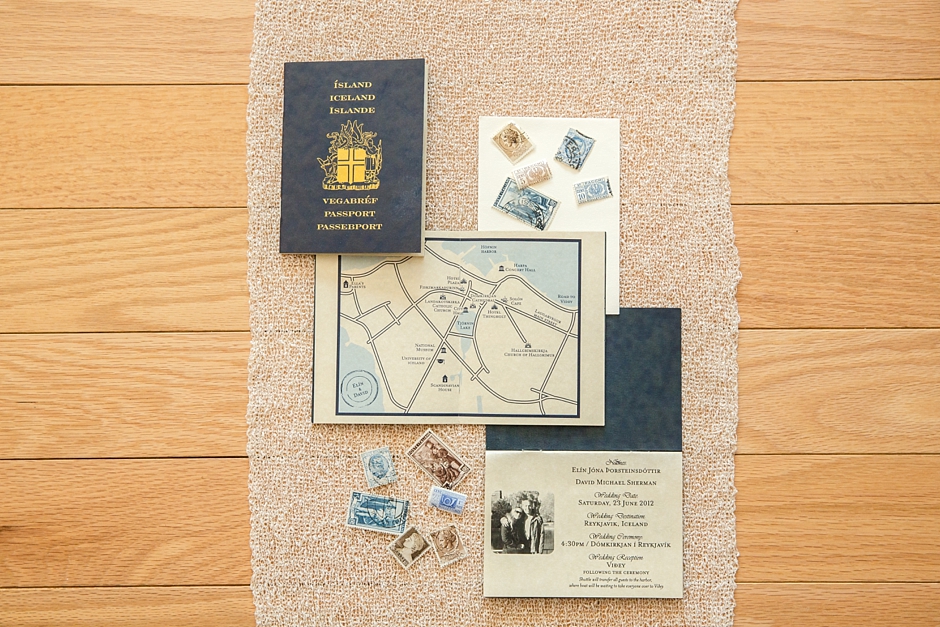
A big thank you to NVS Events for putting together these tips for our brides! For more information on their services for wedding planning and day-of coordination visit their website or find them on Facebook.
For more Tips for Brides click here. Happy Wedding Planning!!
